Marshmallow Recipe Without Gelatin
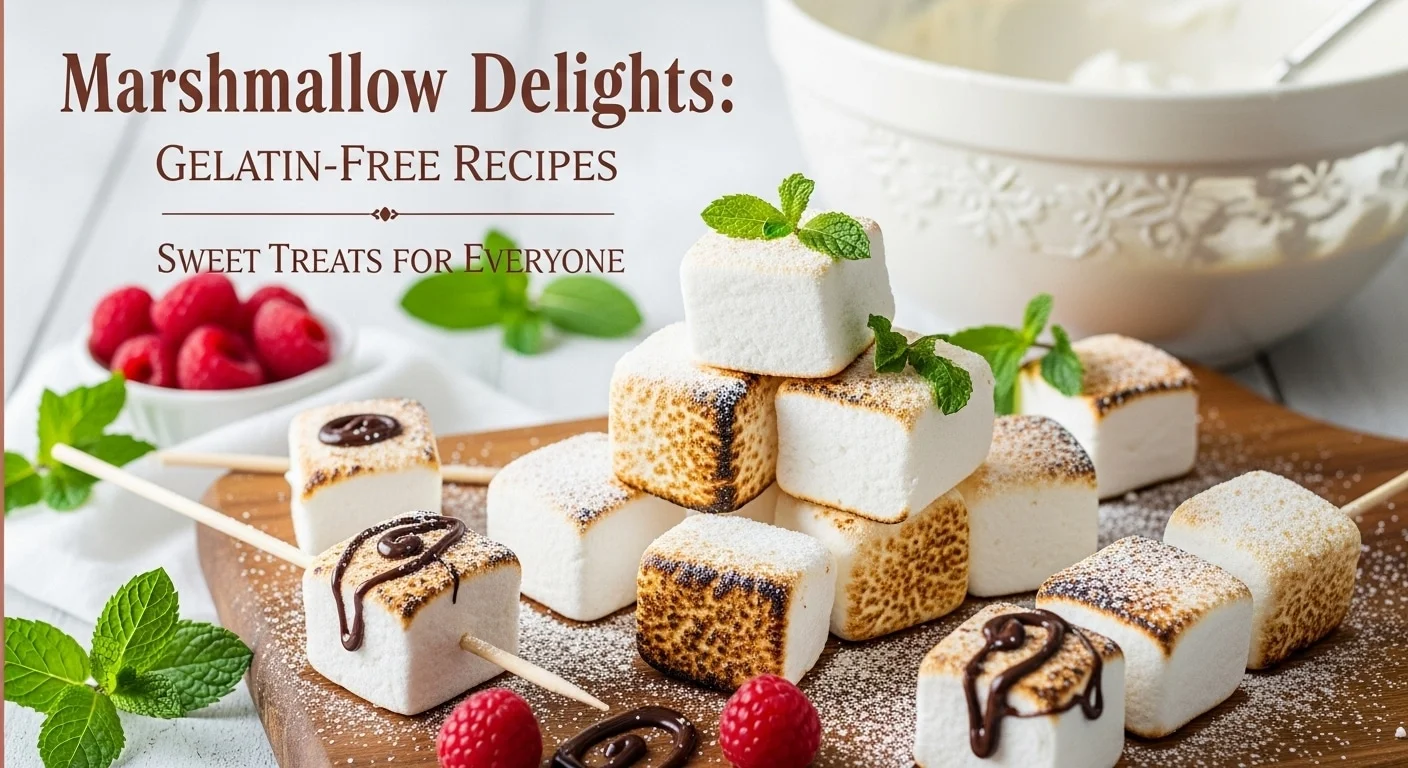
… Learn more
There’s a certain magic to making marshmallows at home, a soft, sweet alchemy that feels both simple and profound. For anyone who has ever searched for a kinder, plant-based version of this classic confection, a perfect Marshmallow recipe without gelatin is a true kitchen treasure. It’s for the friends who follow a vegetarian or vegan lifestyle, for those observing certain dietary restrictions, or for anyone who just prefers the idea of a sea-vegetable base over animal-derived gelatin. This recipe captures all the fluffy, cloud-like joy of a traditional marshmallow but does so with heart and inclusivity.
I remember the first time I successfully made a batch. My kitchen was a whirl of powdered sugar, and the scent of vanilla hung in the air like a sweet promise. The moment I lifted the whisk and saw those glossy, towering peaks, I felt that old-fashioned thrill of creating something wonderful from scratch. It’s a feeling I want for every one of you. So many of us wonder, what is the best substitute for gelatin in marshmallows? or can agar agar really work? I’m here to tell you, with warmth and certainty, that it absolutely can.
Table of Contents
Table of Contents
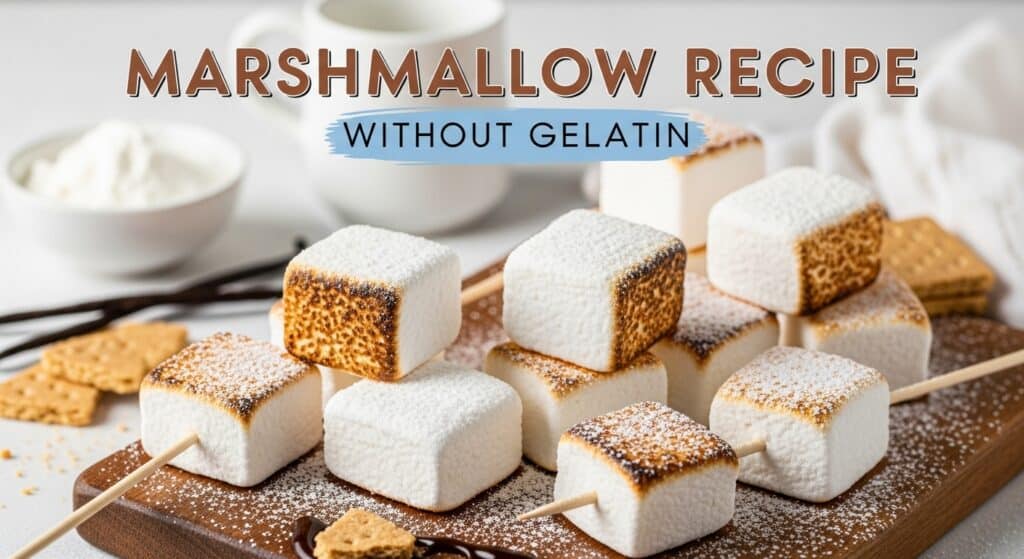
Ingredients You’ll Need
Gathering your ingredients is the first quiet ritual of any great recipe. For this marshmallow recipe without gelatin, precision is your friend, especially with the agar-agar. Here’s everything you’ll need to create your own batch of fluffy sweetness:
- 1/2 cup water
- 2 tablespoons agar-agar powder
- 1 cup granulated sugar
- 1/2 cup light corn syrup
- 1 teaspoon pure vanilla extract
- Pinch of fine sea salt
- 1/2 cup powdered sugar for dusting
- 1/2 cup cornstarch for dusting
Estimated Prep & Cook Time for Marshmallow Recipe Without Gelatin
This marshmallow recipe without gelatin is more about patience than active labor. The hands-on time is quite short, but allowing the marshmallows to set properly is key. Here’s a helpful breakdown of what to expect.
| Activity | Time |
|---|---|
| Active Prep & Cooking | 25 minutes |
| Setting Time (Room Temp) | 4-6 hours minimum |
| Total Time (Start to Finish) | 5 to 7 hours |
My best advice? Make these in the afternoon or evening and let them set peacefully overnight on your counter. Waking up to a pan of ready-to-cut marshmallows feels like a little gift from your past self.
Recommended Tools You’ll Need
- Stand Mixer (or a powerful Hand Mixer)
- Candy Thermometer
- Medium Saucepan
- 8×8 inch Baking Dish
- Parchment Paper
- Silicone Spatula
- wire whisk
- granulated sugar
- spoon
- a serving dish or mold (a pretty bowl, a vintage mold, or even a loaf pan)
- cornstarch
- graham cracker crumbs
- whipped cream
- powdered sugar
- hand mixer, immersion blender, or milk frother
Step-by-Step Instructions
Let’s walk through this together. Making a marshmallow recipe without gelatin is a beautiful process of transformation, from a clear syrup to a billowy, snow-white fluff. Follow these steps closely, and you’ll be rewarded.
Bloom the Agar-Agar
In a small bowl, sprinkle your agar-agar powder over the 1/2 cup of water. Let it sit for a full 10 minutes to bloom. It will become a thick, gelatinous mixture, which is exactly what you want.
Dissolve the Sugar
In your medium saucepan, combine the bloomed agar-agar mixture, granulated sugar, light corn syrup, and a pinch of fine sea salt. Heat over medium heat, stirring gently with a silicone spatula until all the sugar crystals have completely dissolved.
Cook to Soft-Ball Stage
Bring the mixture to a boil. Without stirring, cook until the syrup reaches exactly 240°F (the soft-ball stage) on your candy thermometer. This is the most critical step for the right texture in your marshmallow recipe without gelatin.
Add the Vanilla
Remove the saucepan from the heat immediately. Carefully stir in the pure vanilla extract. The mixture will bubble up a bit, so take care.
Whip to Cloud-Like Peaks
Carefully pour the hot syrup into the bowl of your stand mixer fitted with the whisk attachment. Whip on high speed for 10-12 minutes. It will start clear and thin, then turn creamy, and finally become thick, white, and very glossy, forming stiff peaks.
Prepare the Pan and Pour
While the syrup is whipping, line your 8×8 inch baking dish with parchment paper. Generously dust the bottom and sides with a 50/50 mix of powdered sugar and cornstarch. Once whipped, quickly scrape all the marshmallow fluff into the prepared dish using your silicone spatula. Smooth the top.
The Patient Set
Let the marshmallows set, uncovered, at room temperature for at least 4-6 hours, or ideally overnight. Do not refrigerate, as this can cause sweating.
Cut and Coat
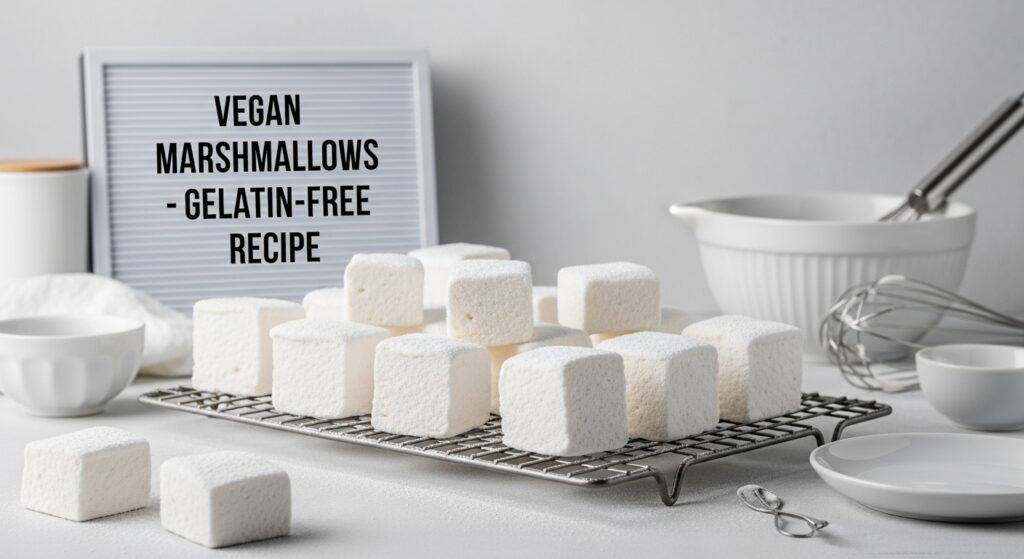
Once completely firm, lift the slab out using the parchment paper. Using a sharp knife dusted with your powdered sugar–cornstarch mix, cut into squares. Toss each marshmallow in more of the dusting mixture to coat all sticky sides.
Pro Tips & Tasty Tweaks
After making batch after batch of this marshmallow recipe without gelatin, I’ve gathered a few kitchen secrets to ensure your success and inspire your creativity.
- Flavor Swaps: Replace the vanilla with peppermint extract for holiday marshmallows, or stir in a tablespoon of cocoa powder for a chocolate swirl. The base is wonderfully adaptable.
- For Cleaner Cuts: Lightly coat your knife or kitchen shears in cooking spray before dusting with the sugar-starch mix. This prevents serious sticking.
- Set for Success: Agar-agar sets at room temperature and can “weep” if refrigerated. A cool, dry spot on your counter is the perfect place for them to firm up.
- Storage Smarts: Keep your finished marshmallows in an airtight container with layers separated by parchment. They’ll stay soft and perfect for about 2 weeks.