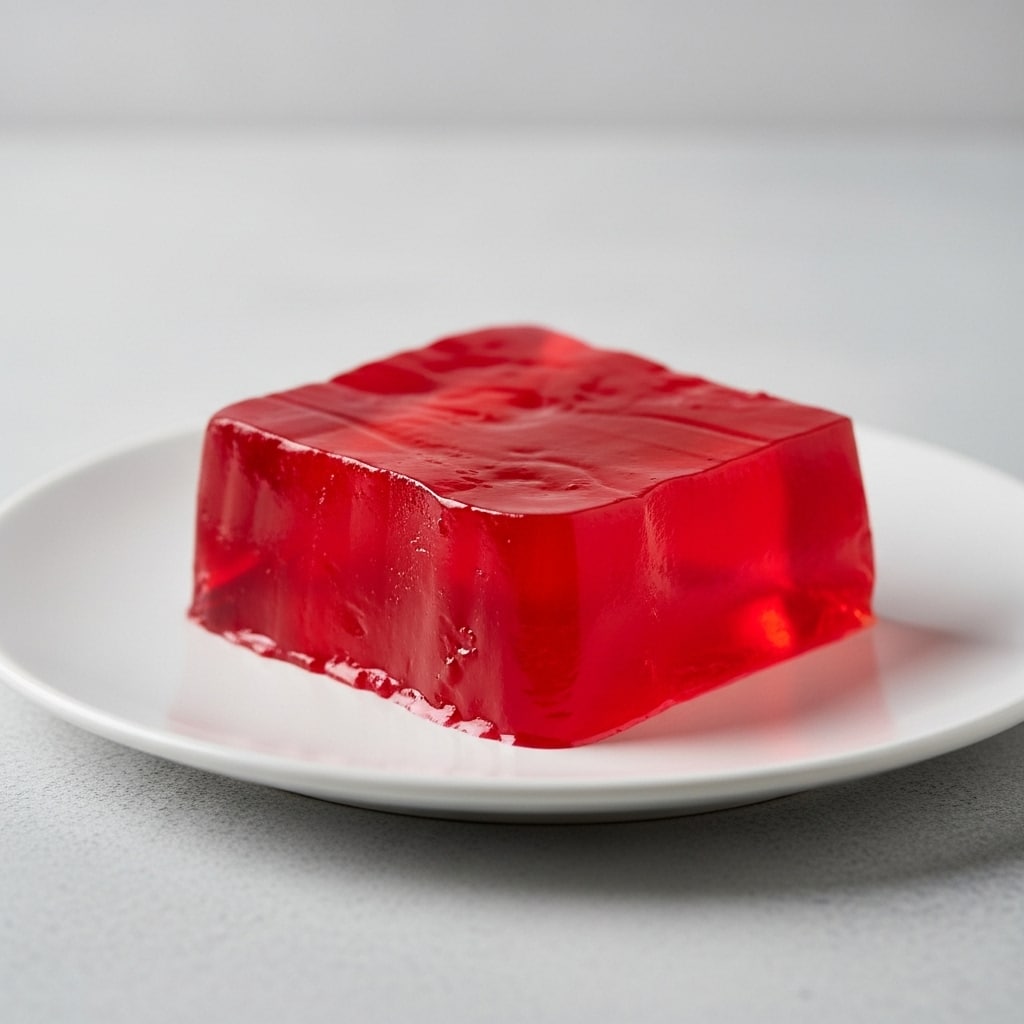
Gelatin Jello
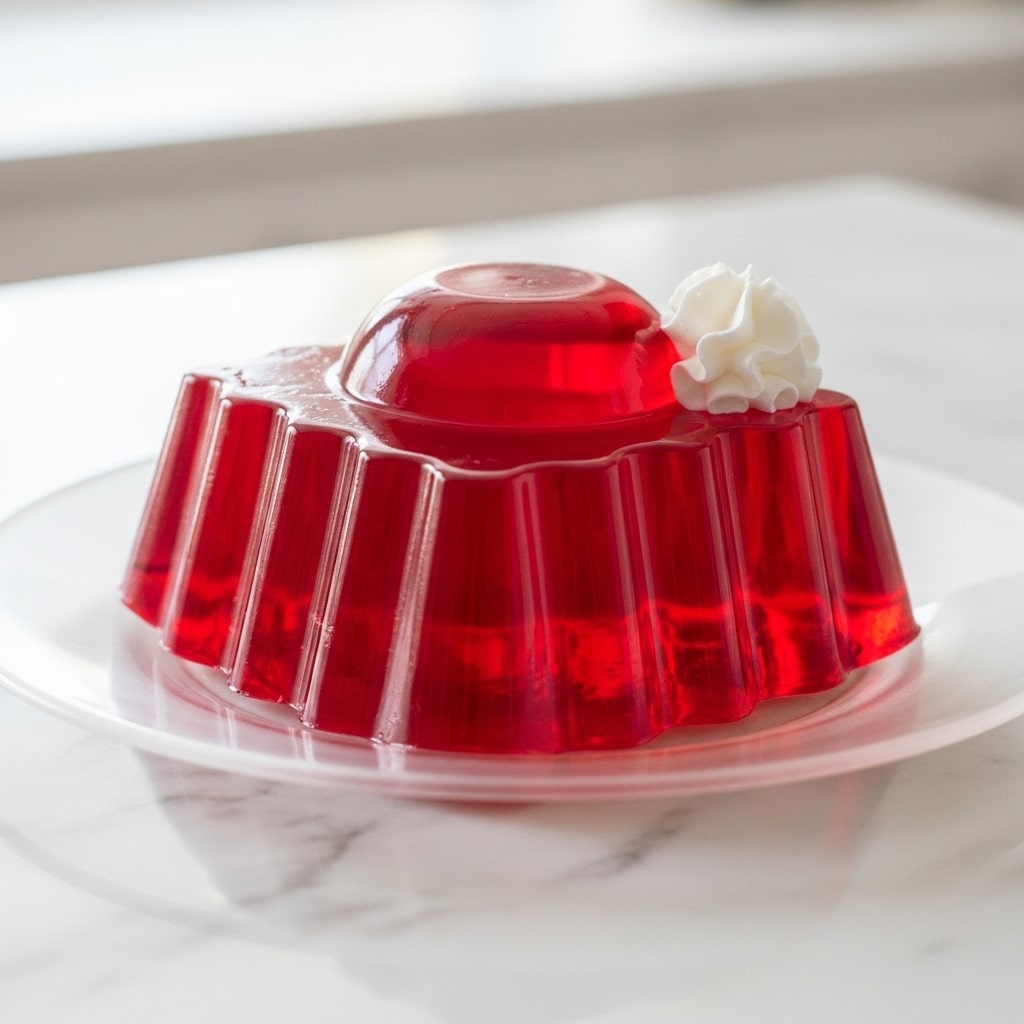
… Learn more
There’s something truly magical about a perfect, shimmering batch of homemade gelatin jello. It’s more than just a dessert; it’s a vessel for memories. I can still see my grandmother’s hands, steady and sure, pouring the ruby-red liquid into her favorite glass dish, the promise of something sweet and cooling on a summer afternoon. That’s the heart of it, isn’t it? It’s joy you can hold in your hand, a simple pleasure that bridges generations.
Today, we’re reclaiming that joy from the boxed mix. Making gelatin jello from scratch is surprisingly simple, and the payoff is immense—a pure, customizable treat where you control the sweetness and the flavor. Maybe you’re wondering, “How do I make gelatin Jello from scratch without lumps?” or “Can I pack it with fresh fruit?” We’ll cover all that and more, just like we’re chatting over a cup of tea at my kitchen table.
Table of Contents
Table of Contents
Ingredients You’ll Need
This short list is all about quality and freshness. Using a good, clear fruit juice makes all the difference in creating a beautiful, flavorful gelatin jello.
- 1 packet (0.25 oz) unflavored gelatin powder
- 1/4 cup cold water
- 3/4 cup boiling water
- 1/4 cup granulated sugar
- 1 cup fruit juice (such as apple or grape – use your favorite!)
- Optional: a few drops of food coloring
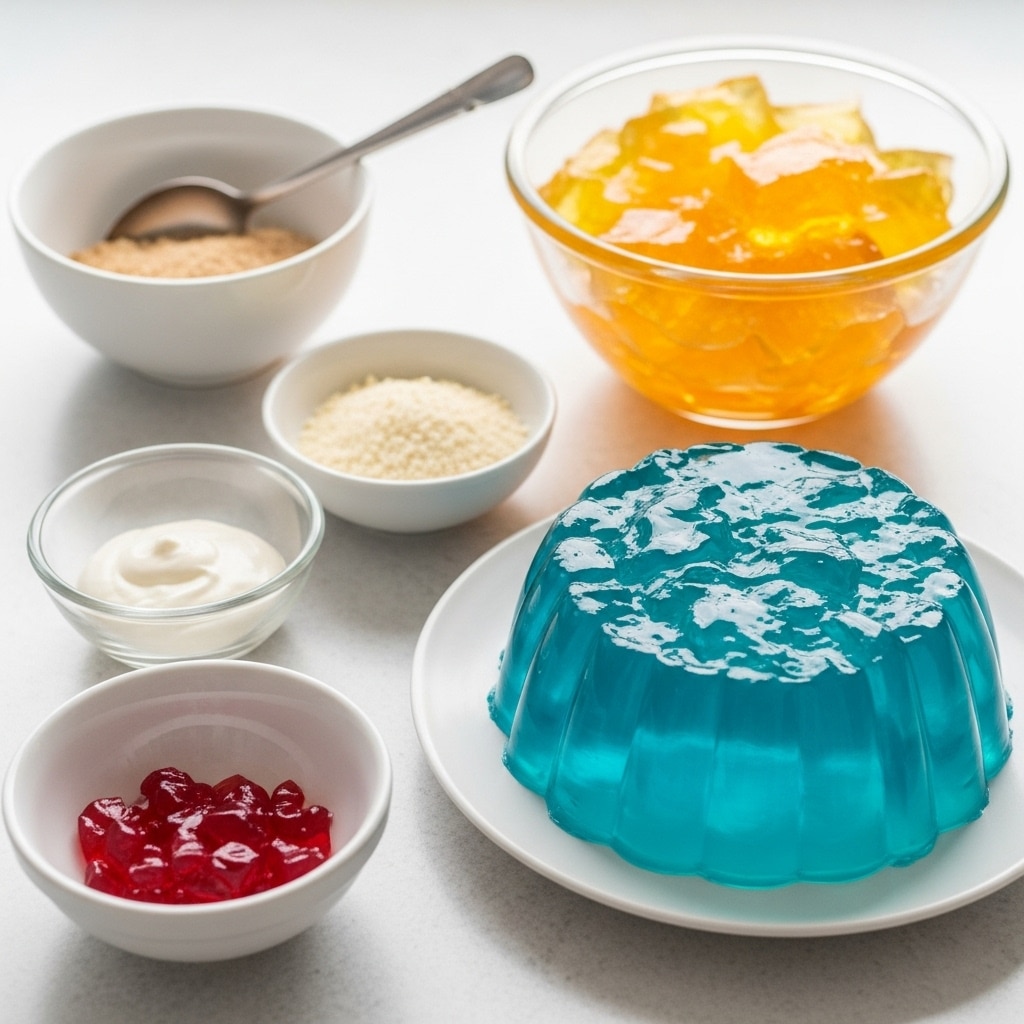
Estimated Prep & Cook Time for Gelatin Jello
One of the best things about this dessert is how little hands-on time it requires. Most of the “work” is just letting the magic happen in the fridge. Here’s a quick breakdown of what to expect. (read our guide)
| Activity | Time |
|---|---|
| Active Prep Time | 10 minutes |
| Setting Time (Chilling) | At least 4 hours |
| Total Time | 4 hours 10 minutes |
I often make my gelatin jello the night before I need it, so it’s perfectly set and stress-free when guests arrive. It’s the kind of make-ahead magic I adore. (more inspiration)
Recommended Tools You’ll Need
- A good, sturdy large mixing bowl for blooming the gelatin.
- A reliable saucepan for heating your water.
- A wire whisk – your best friend for a lump-free mixture.
- A flexible silicone spatula to get every last drop.
- A measuring cup with a spout for easy pouring.
- Fun individual molds or a classic pie dish for setting.
- A rubber spatula for gentle unmolding.
Step-by-Step Instructions
Let’s walk through this process together. It’s a gentle, rhythmic dance of hot and cold that results in something wonderful. Remember, patience is your secret ingredient! (read our guide)
Step 1: Bloom the Gelatin
- Place your large mixing bowl on the counter. Sprinkle the unflavored gelatin powder evenly over the 1/4 cup of cold water. Let this mixture sit, undisturbed, for a full 5 minutes. This “blooming” step is crucial—it allows the gelatin granules to soften and absorb the liquid, which prevents those dreaded lumps later on.
Step 2: Dissolve the Sugar
- While the gelatin blooms, grab your saucepan. Heat the 3/4 cup of boiling water (you can just bring it to a boil on the stove). Remove from heat and add the granulated sugar. Using your wire whisk, stir vigorously until the sugar is completely dissolved and the liquid is clear.
Step 3: Combine Hot and Bloomed Mixtures
- Now, carefully and slowly pour the hot sugar water into the bowl with the bloomed gelatin jello mixture. As you pour, use your wire whisk to combine them continuously. This steady whisking ensures the gelatin melts smoothly into the hot liquid.
Step 4: Add Juice & Color
- Next, stir in your 1 cup of chosen fruit juice. If you’re using food coloring for a more vibrant hue, add a few drops now. Switch to your silicone spatula and mix everything thoroughly until the liquid is perfectly smooth and uniform in color.
Step 5: Pour into Molds
- For the neatest pour, transfer your gelatin jello mixture into a measuring cup. Then, gently pour it into your prepared individual molds or a beautiful pie dish. Tap the molds lightly on the counter to release any air bubbles.
Step 6: Chill Until Set
- Carefully place the filled molds or dish in the refrigerator. Let your gelatin jello chill for at least 4 hours, or until it is completely firm to the touch. Overnight is even better for a perfect, clean set.
Step 7: Unmold with Care
- Once fully set, it’s time to serve! To unmold, gently run a thin rubber spatula around the edges of the mold or dish to loosen the gelatin jello. For individual molds, you can briefly dip the bottom in warm water, then invert onto a plate.
Step 8: Serve & Savor
- Serve your masterpiece chilled. Enjoy the wobble, the shine, and the taste of a dessert made with your own two hands. It’s pure, simple joy.
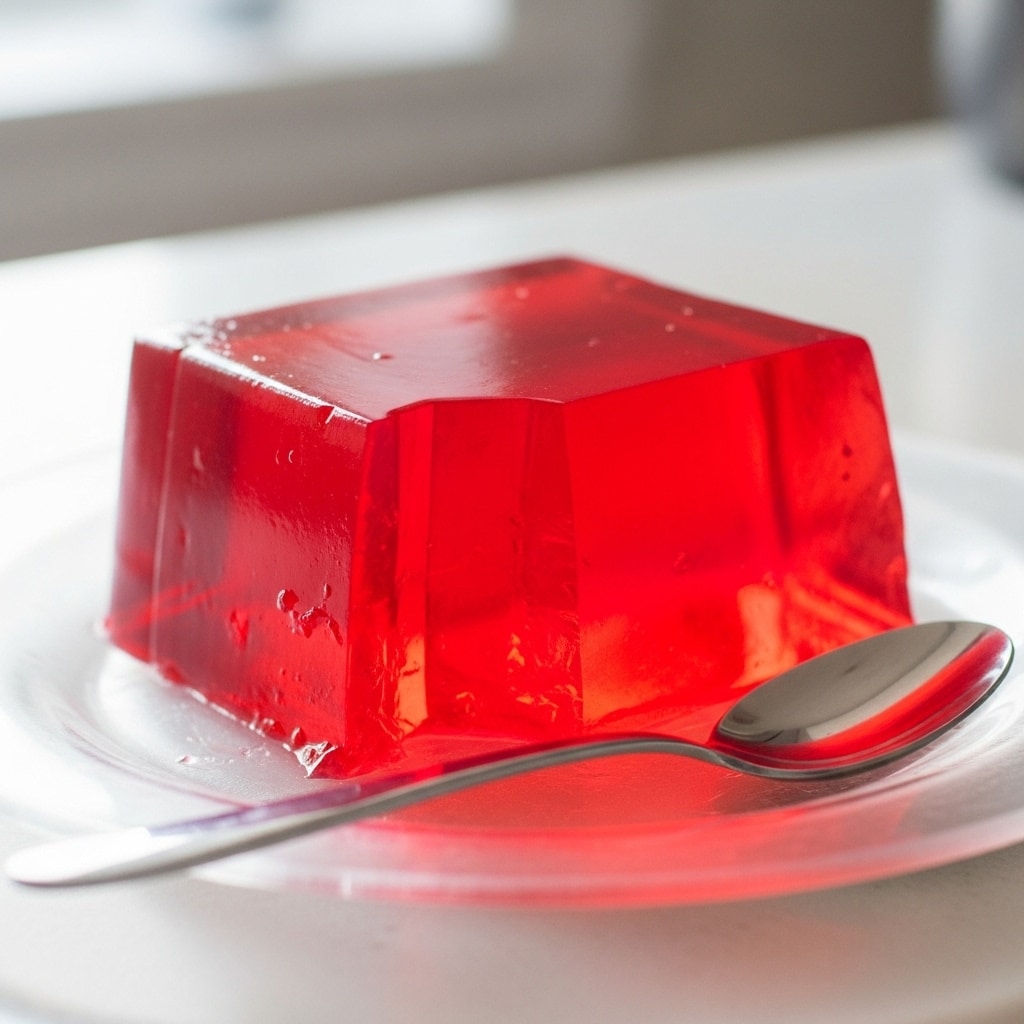
Pro Tips & Tasty Tweaks
This basic gelatin jello recipe is your canvas. Don’t be afraid to play and make it your own! Here are a few of my favorite ways to jazz it up.
- Flavor Fiesta: Swap the apple juice for tart cherry, tropical pineapple (use canned, not fresh, as fresh can prevent setting), or vibrant pomegranate juice. Each creates a totally new dessert experience.
- Fruit-Forward: For a classic fruit-filled gelatin jello, let the mixture cool in the fridge for about 20-30 minutes until it’s syrupy. Then fold in a cup of small, soft fruits like berries, mandarin orange segments, or sliced peaches before the final chill. This prevents them from all sinking to the bottom.
- Creamy Dream: For an elegant layered look or a creamy twist, replace half of the fruit juice with coconut milk or a light cream. Pour the creamy layer after the first clear layer has set.
- Storage Smarts: Homemade gelatin jello keeps beautifully in the fridge, covered tightly with plastic wrap, for 4-5 days. It’s best enjoyed cold, as it can start to soften at room temperature.